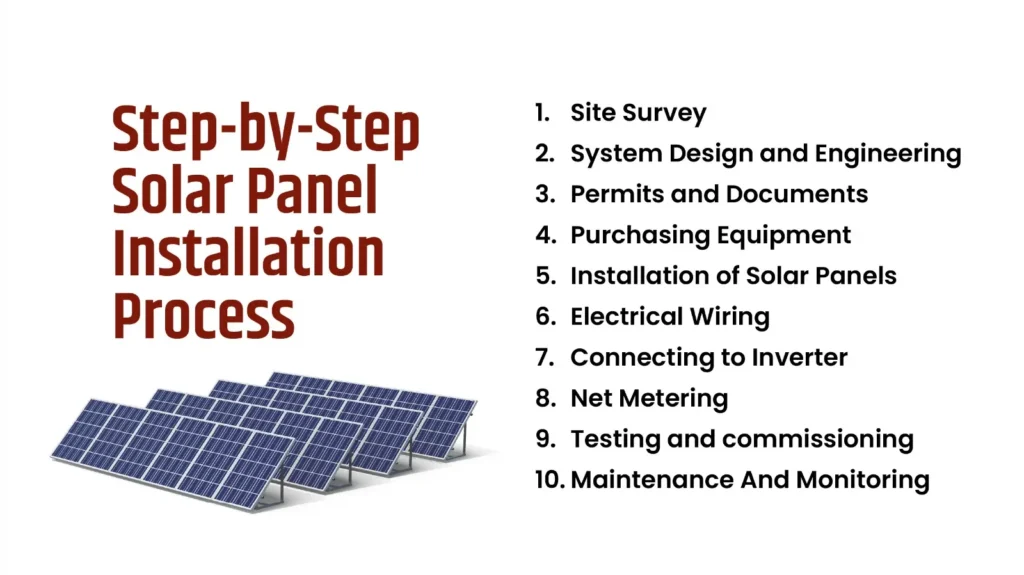
Solar Panel Installation Process: Step-by-Step Guide
Solar energy is becoming a vital part of renewable energy solutions for homes and businesses worldwide. Installing solar panels not only reduces electricity bills but also contributes to environmental sustainability.
A proper solar panel installation process ensures maximum energy efficiency, durability, and safety. In this guide, we’ll break down the installation into simple step-by-step instructions, including planning, mounting, wiring, and system activation.
Step 1: Assess Your Energy Needs
Before installing a solar system, it is crucial to understand your energy consumption.
- Calculate your monthly electricity usage from your utility bills.
- Determine the solar system size required to meet your energy needs (measured in kilowatts, kW).
- Consider whether you want full coverage or partial offset of electricity usage.
A clear understanding of energy needs ensures the system is neither underpowered nor overpowered.
Step 2: Evaluate Your Roof and Site
The next step is to evaluate the installation site.
- Roof Type: Flat, sloped, metal, or tiled. The type affects mounting hardware.
- Orientation and Tilt: South-facing roofs in the northern hemisphere provide maximum sunlight. The tilt angle should ideally match the latitude of your location.
- Shade Analysis: Identify any shading from trees, chimneys, or neighboring buildings. Even small shading can reduce efficiency.
- Structural Integrity: Roof must support the weight of solar panels (typically 15–20 kg per panel).
Step 3: Design the Solar System
After evaluating the site, a custom solar system design is created.
- Panel Layout: Decide the number of panels and their arrangement.
- Inverter Selection: Choose between string inverters, microinverters, or power optimizers.
- Battery Storage (Optional): If off-grid or hybrid, include battery capacity planning.
- Wiring and Electrical Plan: Ensure compliance with safety standards.
This step ensures the system maximizes energy production while fitting your space and budget.
Step 4: Obtain Permits and Approvals
Depending on your region, local permits or approvals may be required:
- Building permits
- Electrical permits
- Utility company approval (for grid-tied systems)
A certified installer usually handles this process to ensure the system is compliant with regulations.
Common Mistakes to Avoid When Installing Solar Panels
Step 5: Install Mounting Structure
The mounting structure secures solar panels to your roof.
- Roof-mounted systems: Use rails and brackets to attach panels securely.
- Ground-mounted systems: Use poles or frames, especially for large-scale installations or limited roof space.
- Ensure the structure is tilted and oriented for maximum sun exposure.
- Check for tightness and stability to withstand wind and weather.
Step 6: Install Solar Panels
Once the mounting structure is ready:
- Place panels on the mounting rails.
- Secure panels using clamps and bolts.
- Ensure proper spacing between panels for ventilation and maintenance.
- Align panels properly to avoid shading or energy loss.
Step 7: Wiring and Electrical Connections
This is a critical step requiring professional expertise:
- Connect panels in series or parallel depending on system voltage requirements.
- Run DC wiring from panels to the inverter.
- Install inverter, which converts DC to AC electricity.
- Connect to circuit breaker and main electrical panel.
- Ensure all wiring complies with local electrical codes.
Safety Tip: Only certified electricians should handle electrical connections.
Step 8: Grounding and Safety Measures
- Proper grounding protects the system from lightning and electrical faults.
- Install surge protection devices to safeguard the inverter and panels.
- Check all connectors, fuses, and breakers.
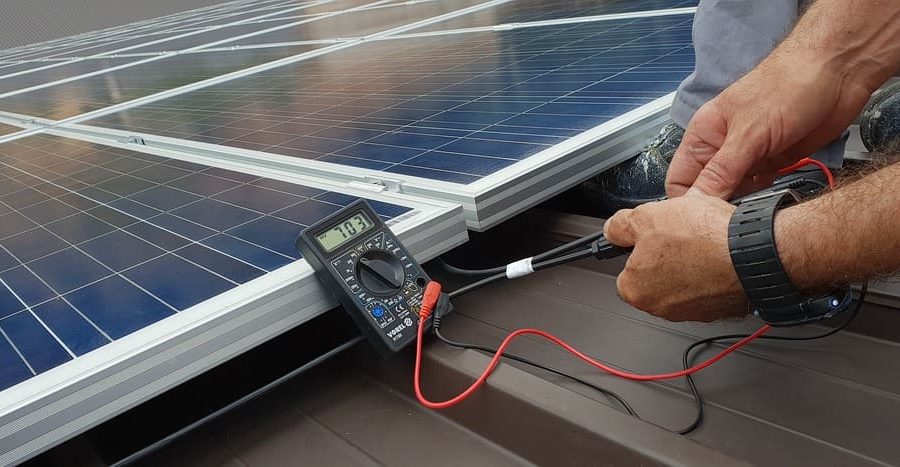
Step 9: System Testing and Commissioning
Once installed:
- Test voltage and current output from panels.
- Verify inverter performance and grid connection.
- Check system monitoring software (if available) to track energy production.
- Ensure the system meets expected energy output.
Step 10: System Activation
After successful testing:
- Activate the solar system.
- Monitor production regularly to ensure maximum efficiency.
- Schedule periodic maintenance for cleaning panels and inspecting wiring.
Step 11: Maintenance and Cleaning
- Clean panels every 3–6 months or more frequently if in dusty areas.
- Inspect for loose bolts, wiring, or damage.
- Keep tree branches trimmed to avoid shading.
- Regular maintenance ensures long-term performance and energy output.
Common Mistakes to Avoid
- Choosing an undersized system for your energy needs.
- Ignoring roof shading and orientation.
- Using uncertified installation professionals.
- Poor wiring or grounding causing safety hazards.
- Skipping maintenance and cleaning.
Benefits of Professional Solar Installation
- Ensures safety and compliance with codes.
- Optimizes energy output and efficiency.
- Reduces risk of panel or inverter damage.
- Provides warranty and post-installation support.
DIY vs Professional Installation
While DIY solar kits exist, professional installation is recommended:
- Large systems require structural and electrical expertise.
- Professionals handle permitting and inspections.
- Guarantees safety, durability, and efficiency.
Conclusion
The solar panel installation process involves careful planning, proper site assessment, expert installation, and ongoing maintenance. Following a step-by-step approach ensures your solar system operates efficiently and safely for decades.
Investing in solar energy is not only an environmental decision but also a financial one, reducing electricity bills while promoting sustainable energy.
By following these steps, homeowners and businesses can harness the full potential of solar energy and enjoy long-term benefits.
For more update about Complete Guide to Solar Panel Installation 2026
Frequently Asked Questions (FAQs)
1. How long does solar panel installation take?
Residential installations typically take 1–3 days, while larger commercial systems can take 1–2 weeks.
2. Can I install solar panels on any type of roof?
Yes, but installation methods differ for tiled, metal, or flat roofs. Professional assessment is recommended.
3. Do solar panels require maintenance?
Yes, panels should be cleaned and inspected regularly, usually every 3–6 months.
4. Is professional installation necessary?
Professional installation ensures safety, compliance, and optimal energy output, especially for grid-tied systems.
5. Can I install solar panels myself?
DIY kits exist, but expert installation is recommended for safety and warranty purposes.
6. How long do solar panels last?
Most solar panels last 25–30 years, with slight efficiency degradation over time.
7. What is the cost of solar panel installation?
Costs vary based on system size, panel type, and location. Average residential systems cost $10,000–$20,000 before incentives.
8. Can solar panels work during cloudy days?
Yes, panels generate electricity even in low light, but efficiency is slightly reduced.
9. Do I need batteries for solar panels?
Batteries are optional. Grid-tied systems don’t require batteries, while off-grid or hybrid systems do.
10. What permits are required for solar installation?
Permits vary by region but may include building permits, electrical permits, and utility approval.


&media=https://sunlightsolarenergy.clixurasolution.com/wp-content/uploads/2026/02/technician-3936982_960_720.jpg)
[…] For learning Solar Panel Installation Process: Step-by-Step […]